
This year, the Monkey gets to celebrate Valentine's Day at school. The catch is that all his Valentine cards have to be handmade (and no candy). I was psyched to hear that, as I knew exactly what we'd be doing. He's almost 6 (only 3 weeks) and it's a great time to introduce him to sewing.
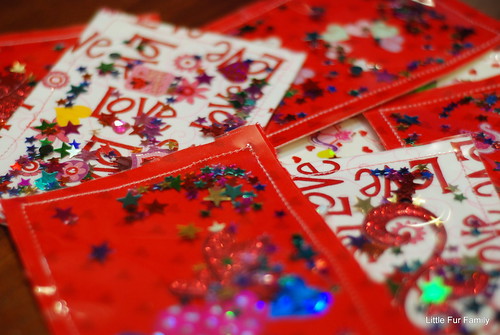
I planned to make Wildcards - index cards with a fused fabric on one side, decorated with stickers and a plastic overlay, and filled with sparkles and sequins.

Materials needed for one card:
- One 4x6 or 5x7 index card
- Fabric piece the same size as index card
- Heat-fusible webbing (Steam-a-seam, heat n' bond, wonder under, etc) the same size as the index card)
- Clear plastic (overhead projector/transparency sheets) cut to the same size as index card)
- Stickers or flat treasures
- sequins, sparkles and other shiny glitter to fill the card
- thread, sewing machine, scissors
The concept uses a lot of the fundamentals he's working on every day, and I wanted him to be able to do as many of the steps as he could, so it was really him making the cards and me just assisting. I ended up doing the ironing stuff, he helped for a few, but 26 cards take a bit of time.
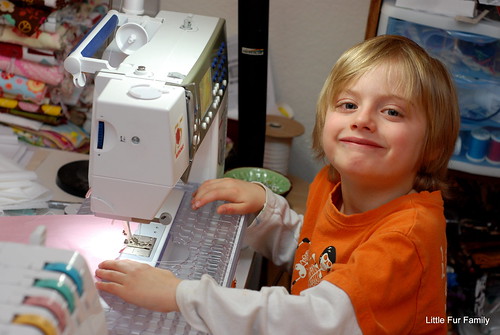
We started with a quick tutorial of how to sew (I need to do some more in-depth instruction, but for now it was just about how it all moves). I had him sew through some paper to get the hang of it. (My machine also has a speed control which is really useful for teaching young kids).
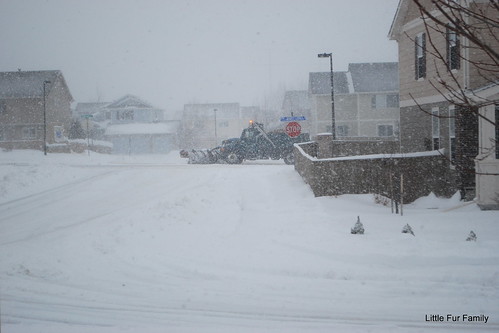
With time quickly inching closer to Valentine's Day, we had to buckle down to finish the cards. Luckily we were granted a break when a massive winter storm hit, and the entire family (including Hubby, who could watch the other kiddos) was snowed in for the day.
I had already fused a heat-activated fusible webbing to a stack of 4x6" index cards (unlined). I used Steam-a-Seam because I had it on hand, but you can also use any other heat-activated fusible (Heat n' Bond, Wonder Under, Therm-O-Web, etc). I then removed the paper backing from the fused side of the index card and placed the fusible web side of the card on the wrong side of my chosen fabric. (Using a cotton, no steam setting on my iron)
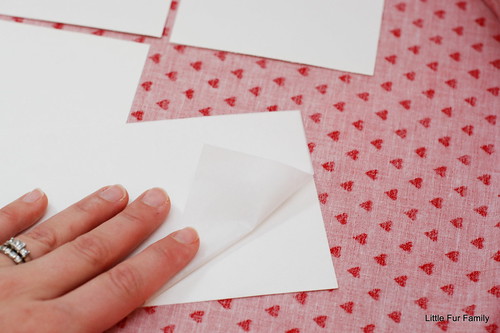

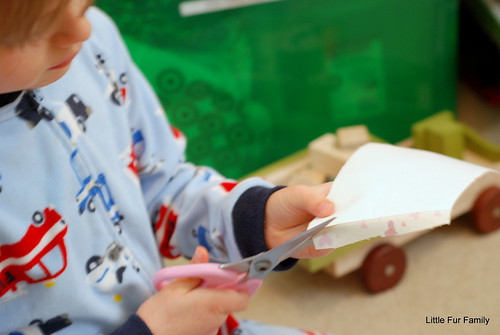
While I continued to fuse the fabric to the cards, the Monkey trimmed the fabric flush with the edges of the cards.
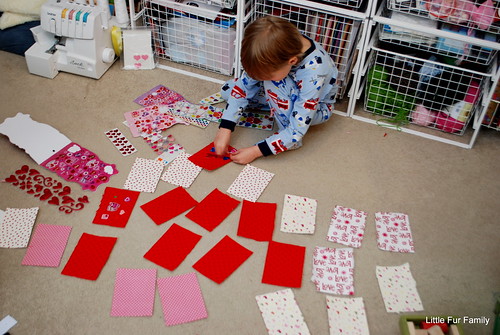
Once we had all of his cards fused and trimmed, we laid out a variety of stickers and mostly flat trinkets (I had some stick-on jewel hearts and puffy stickers. I collected heart and Valentine-themed stickers from the dollar store and various craft stores. The only rule was nothing directly on the edge because I didn't want him to sew over it.
After the cards were decorated, I took a piece of clear plastic (overhead projector sheets or something similar works really well), and placed it on top of the card. I happened to add a decorative thread in the top of the machine, but any thread works well.
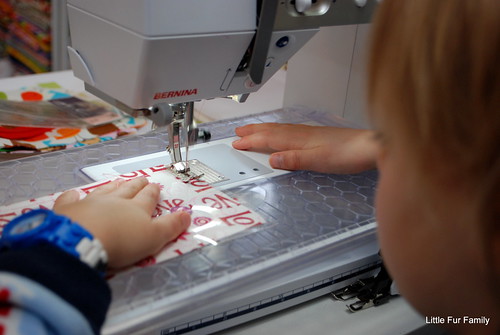
I instructed the Monkey on sewing around the card, lining up the presser foot with the fabric edge, and marked where he wanted to stop and start so that there would be an opening left in order to put in some sparkles and sequins. We worked on speed and pivoting.
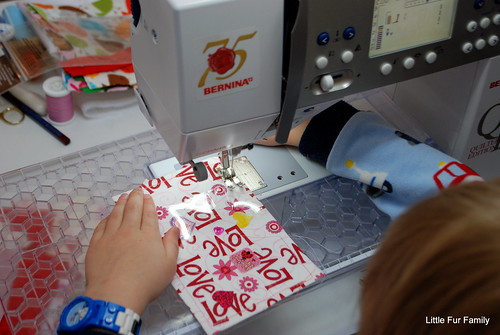
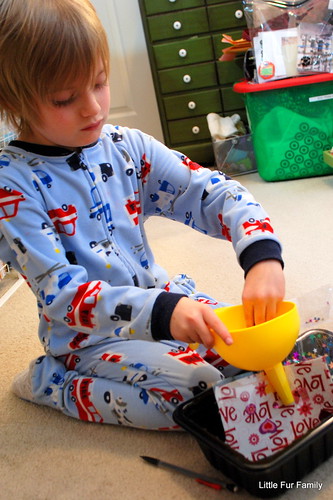
Using a funnel, he placed a small-kid-sized handful of sparkles into the open hole of the card (probably about 1/2-1 tablespoon). Then I helped him sew the opening shut, and because our clear plastic wasn't the exact same size as the card, he trimmed the plastic flush with the rest of the card.

After the cards were finished, he needed to write on them. He still needs to finish writing on the ones to his classmates, but couldn't wait to give one to my mom, who of course owned a quilt store for over 30 years and wrote books on teaching kids to sew. I'm pretty sure my heart melted at this point.

Now we just have to decorate his box to bring home the Valentines from his classmates. Can't wait for that project!
No comments:
Post a Comment