
I blame Pinterest for why this party suddenly grew to epic proportions. The Monkey and Small Fry are 23 months apart, meaning their birthdays are within 3 1/2 weeks of each other. It's really easy, since they're into the same things, to just celebrate all at once. And once I started seeing ideas here and there on Pinterest, I made a Lego Birthday Party board and decided we'd have a Lego Party.
Last year we skipped a party, had a small celebration for each kid. In previous years, we've invited our family and friends which always ends up being about 20 or 30 people, but mostly adults and a handful of younger kids.
This year. This year, Small Fry is in pre-k and the Monkey is in Kindergarten. And I invited all the family and friends from past parties and then all the kids in both of the boys' classes. And the guest list quickly skyrocketed to nearly 50 people (or more, it was a blur the past few days).
Thankfully, my mom provided all the food, so I could focus on decorations, cake and desserts, games and goodie bags.
It was nearly impossible to get pictures of the boys. But here's Small Fry sitting still for .8 seconds. My friend made the shirts using reverse applique technique and a yellow minky for the minifigure.

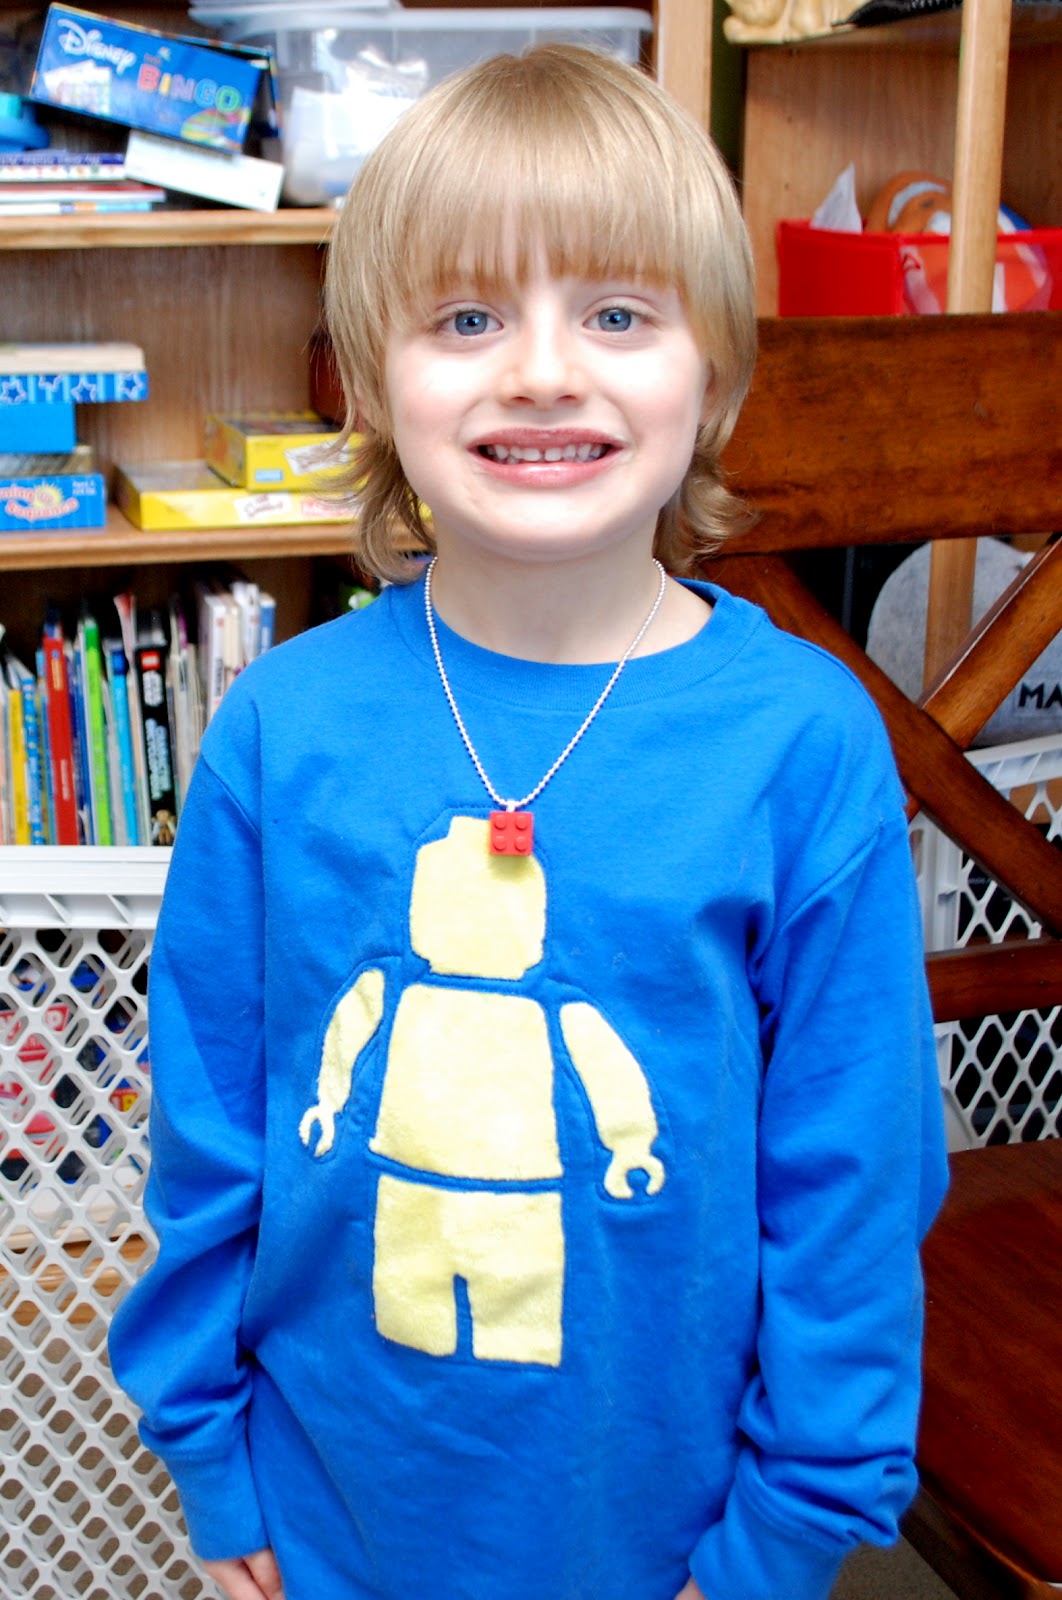
And the Monkey, wearing his Lego minifigure shirt and his new Lego necklace. (more on the necklaces below).

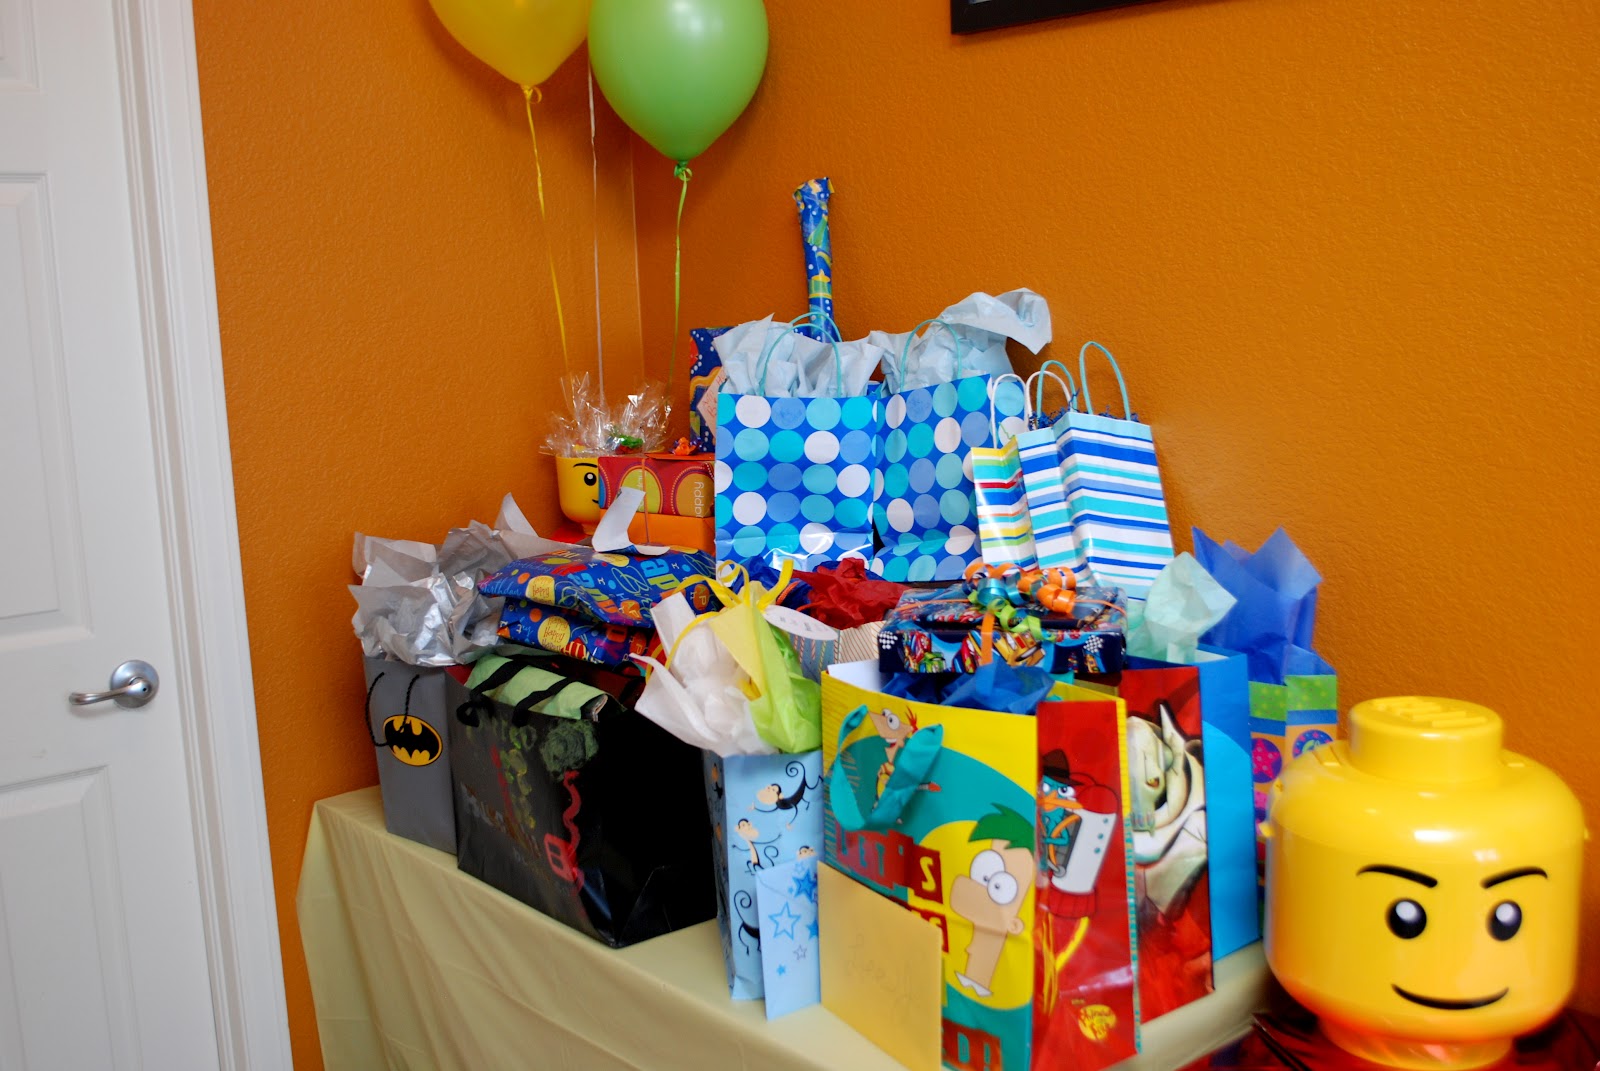
The gift/goodie bag table before the guests arrived. The small minifigure head with balloons was purchased from Container Store. I filled the head with the crayons I made as a take-home gift. I wrapped a few rectangular boxes with solid red paper for added height. Container Store has LOTS of fantastic Lego items, perfect for party decorations and then gifts to the birthday kiddo afterwards.

Last year we skipped a party, had a small celebration for each kid. In previous years, we've invited our family and friends which always ends up being about 20 or 30 people, but mostly adults and a handful of younger kids.
This year. This year, Small Fry is in pre-k and the Monkey is in Kindergarten. And I invited all the family and friends from past parties and then all the kids in both of the boys' classes. And the guest list quickly skyrocketed to nearly 50 people (or more, it was a blur the past few days).
Thankfully, my mom provided all the food, so I could focus on decorations, cake and desserts, games and goodie bags.
It was nearly impossible to get pictures of the boys. But here's Small Fry sitting still for .8 seconds. My friend made the shirts using reverse applique technique and a yellow minky for the minifigure.

And the Monkey, wearing his Lego minifigure shirt and his new Lego necklace. (more on the necklaces below).
The gift/goodie bag table before the guests arrived. The small minifigure head with balloons was purchased from Container Store. I filled the head with the crayons I made as a take-home gift. I wrapped a few rectangular boxes with solid red paper for added height. Container Store has LOTS of fantastic Lego items, perfect for party decorations and then gifts to the birthday kiddo afterwards.

Next to the gift table was the "Guess How Many Legos" game. In the clear glass container (a rectangular vase I had), I put in 193 Legos. Had guests write their guesses and the winner received the water bottle pictured on the right. (The giant minifigure head is the Sort and Store head)


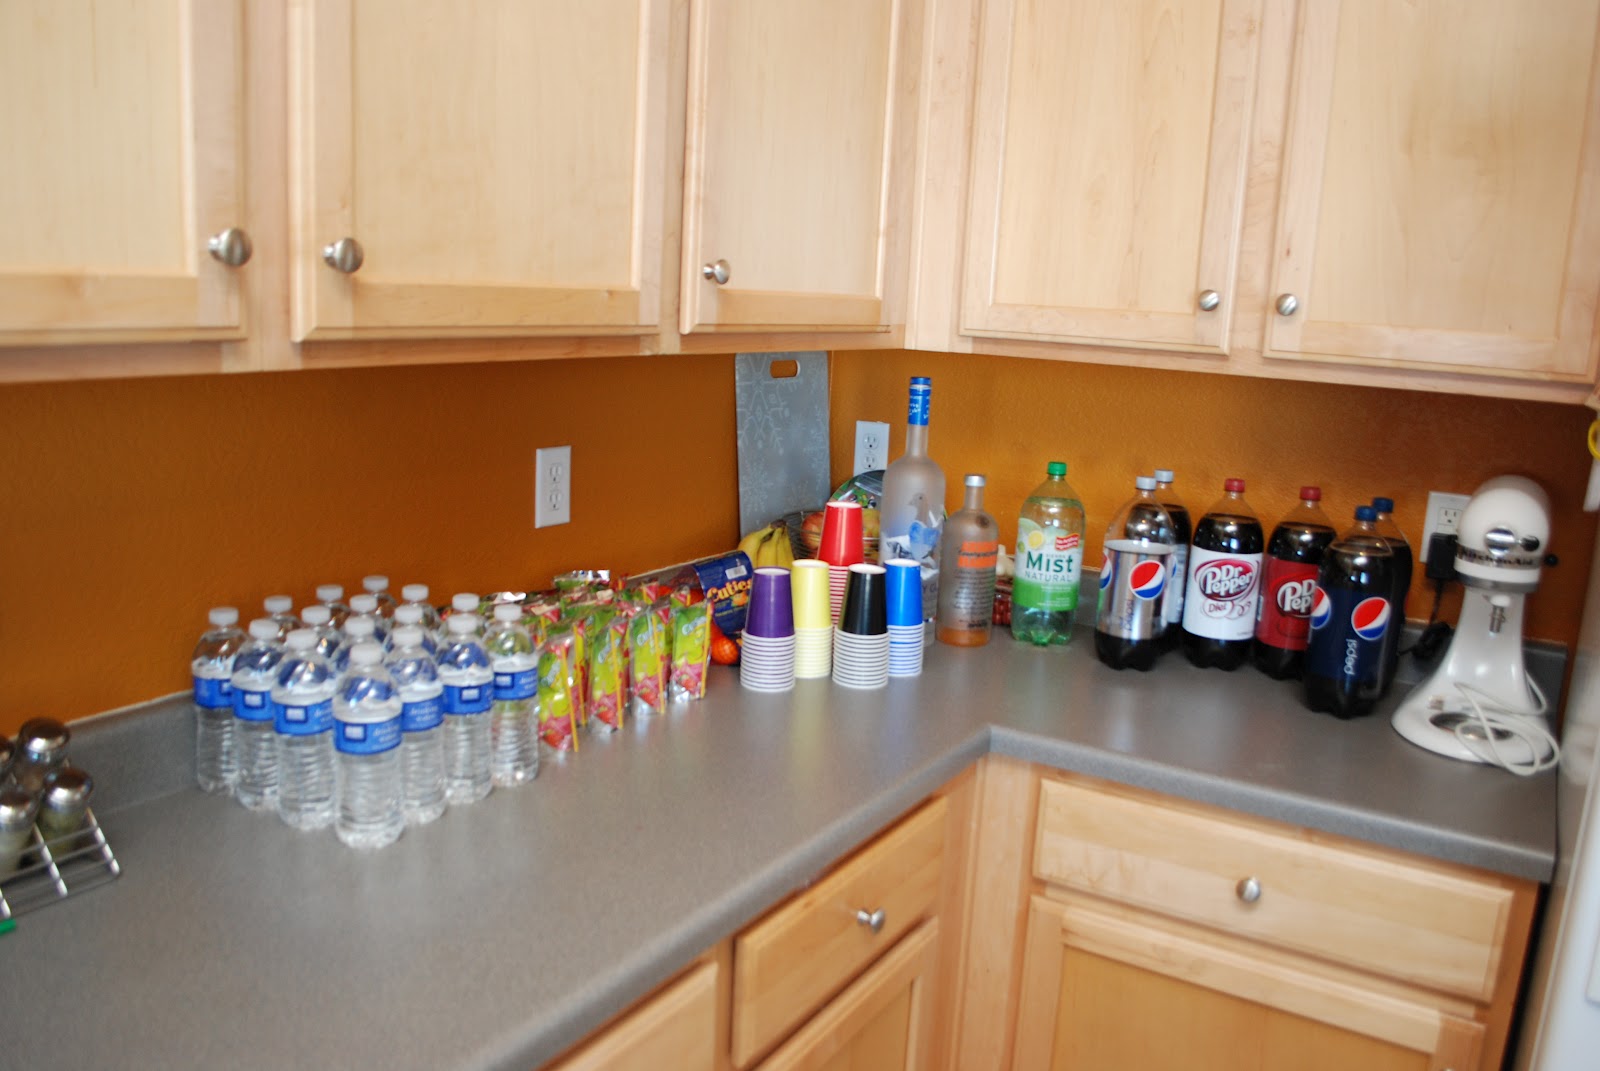
Couldn't forget about drinks! (We had beer too). I actually didn't end up getting a picture of the food. But we had a mid-morning party and had platters of fruit, veggies, dips (sweet and savory), deviled eggs, cheeses, and pre-made sandwiches (turkey with various kinds of cheese) as well as condiments, and add-ons like pickles. Everyone snacked on and off throughout the party.
The cake was inspired by another Pinterest find, and a friend of mine made it for me. I made cupcakes too, as we were expecting many guests (there's a female small minifigure head in the right of the picture, also from Container Store).

Mmm. Lego cake.

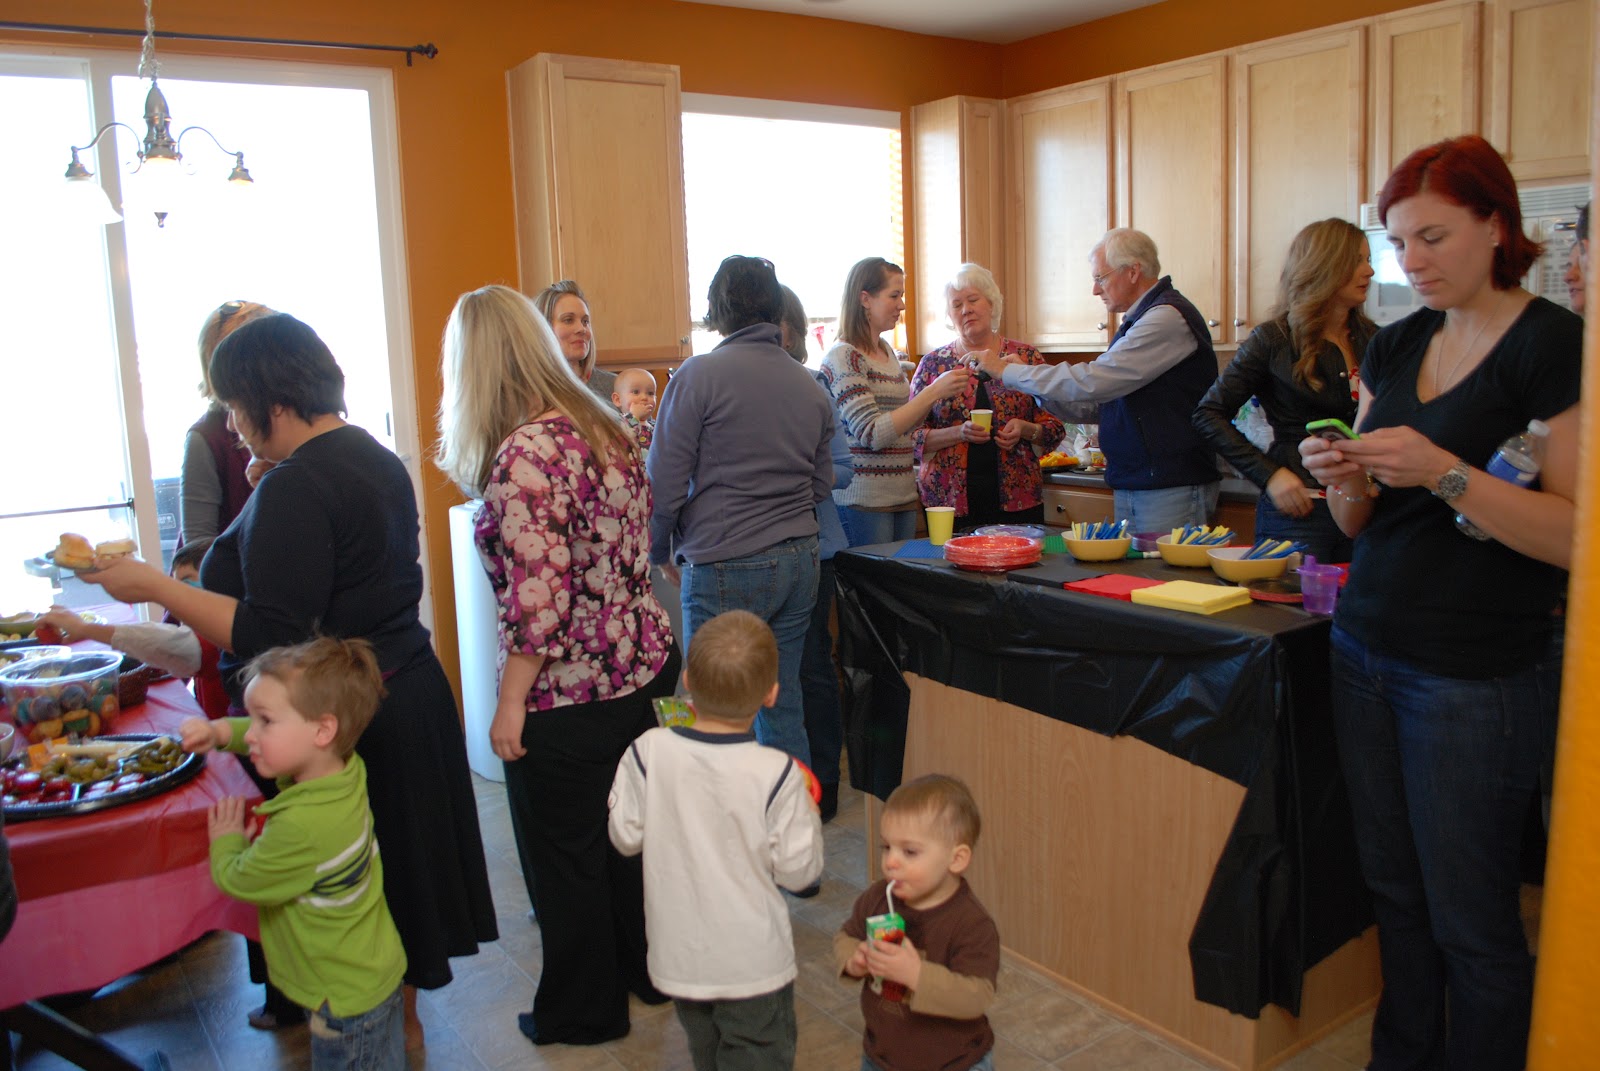
My kitchen full of guests (I guess you can see the food a bit). We served the food on our kitchen table, which had the hidden leaf added, and placed plates, napkins and silverware on the kitchen island. (Notice Split Pea downing a juice box...quite the treat for him).
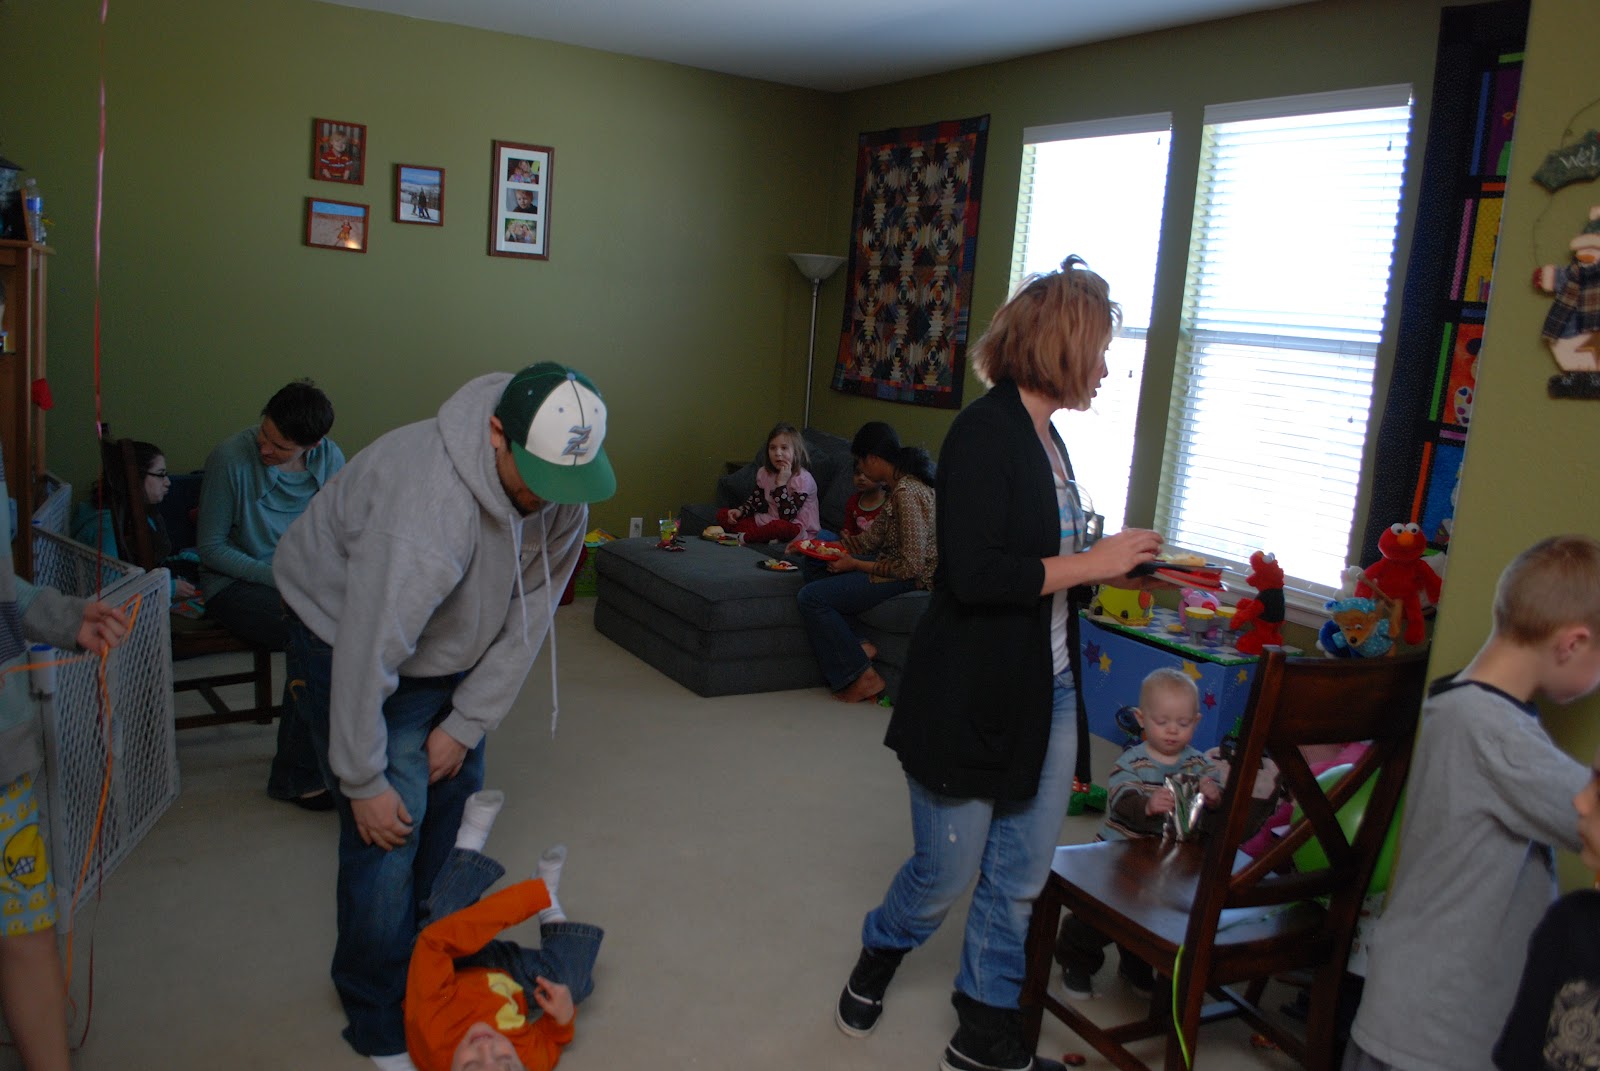
We played one game (Lego Bingo), which was a HIT with the older kids (the Monkey's 5 and 6 year-old friends). But then the kids all had a blast just playing in our playroom and all around the house. (As Small Fry gets tackled by his uncle!)
The Monkey was the only kid who sat at the kitchen table to eat his lunch. And build a Lego set, of course.

The gift table serving its purpose.
Since we have three kids 6 and under, we have a variety of toys, perfect for the various ages of kids that came to the party.

Our "dining room table" (We sold the dining room table a few years ago when we inherited this air hockey table. It gets much more use than a table ever did). This was great for all of the kids. People played the entire length of the party.

I didn't plan so well on the candles, so we used the leftover candles from Split Pea's 1st birthday.

The Monkey and his BFF, Captain America, eyeing the cupcakes.
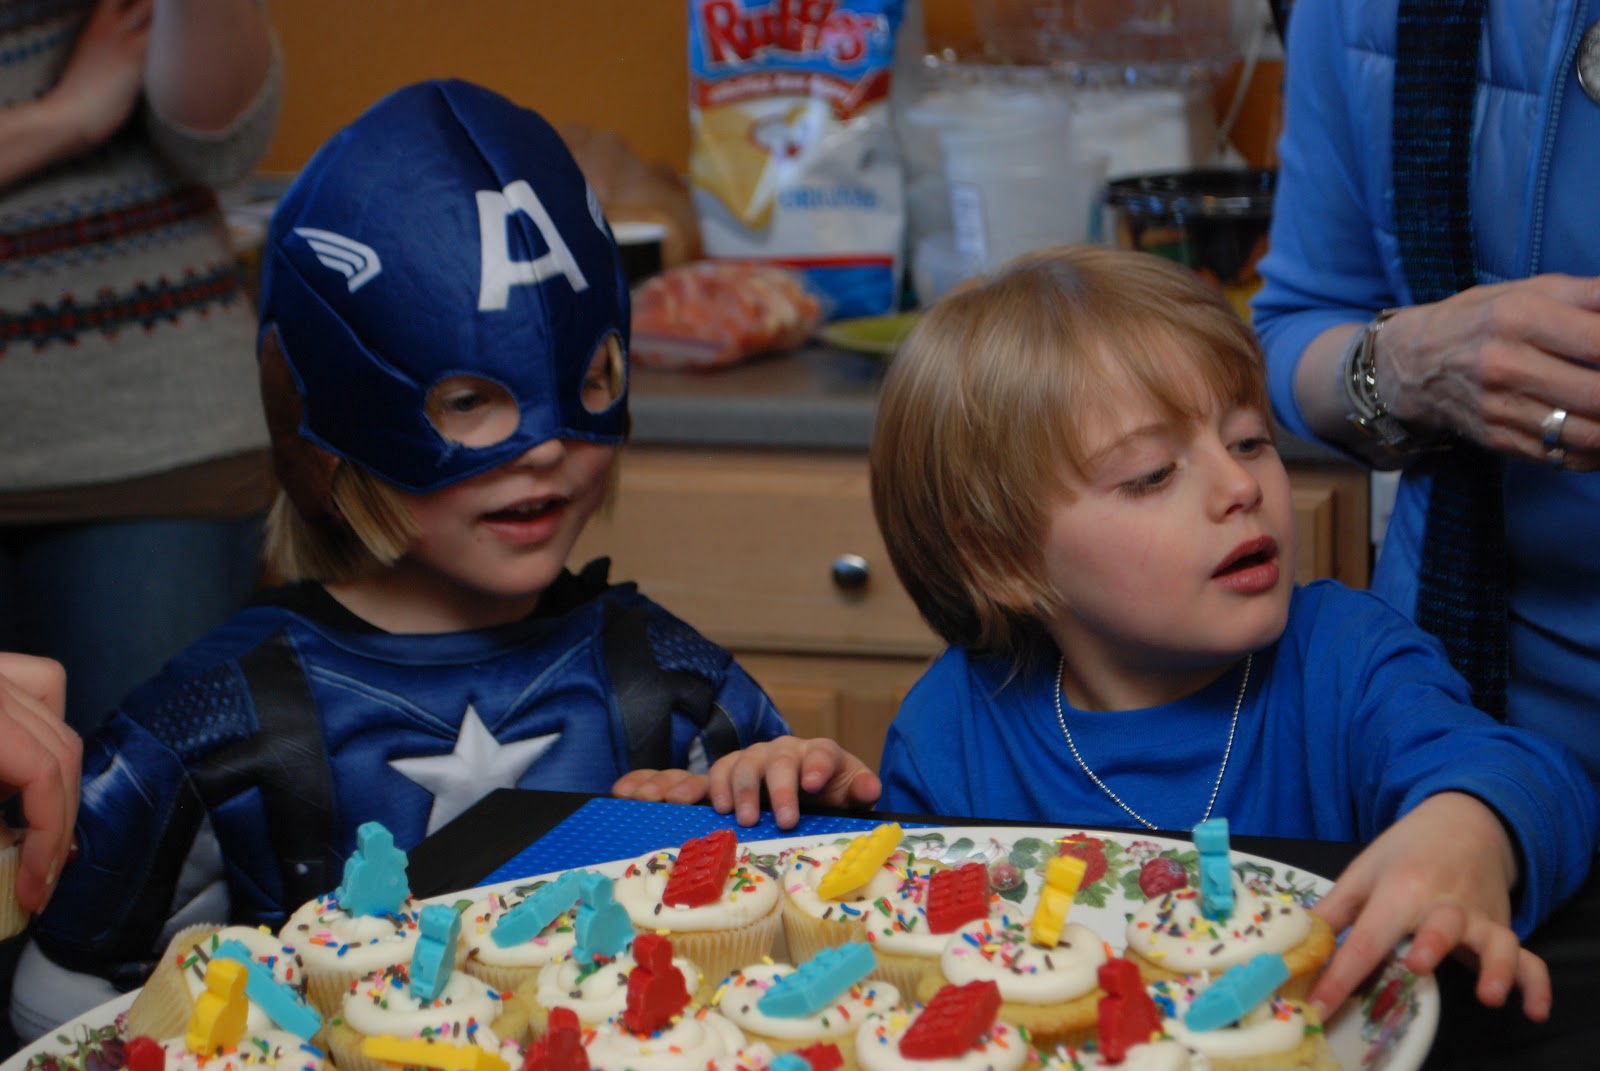
I made these from scratch, vanilla cupcakes with vanilla buttercream frosting. I used the silicone brick and minifigure molds with candy melts to make the cupcake toppers.

THE Lego Cake. White cake with buttercream frosting.
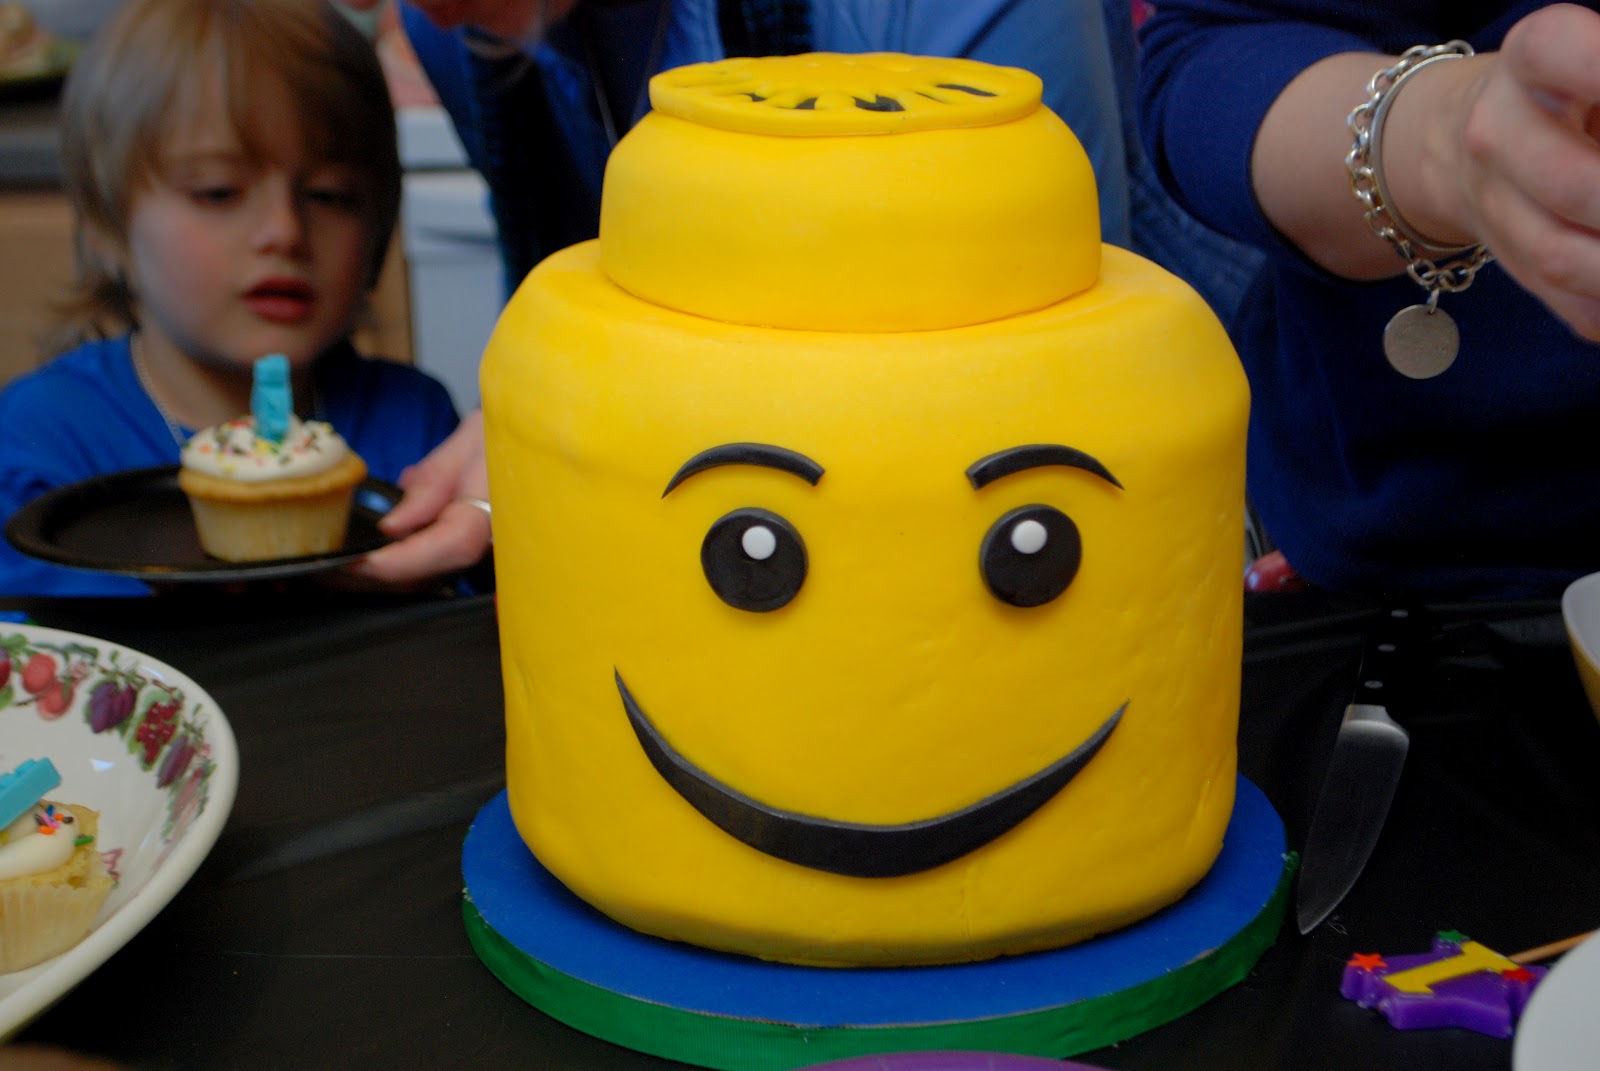
Even said "Happy Birthday" on his minifigure head.

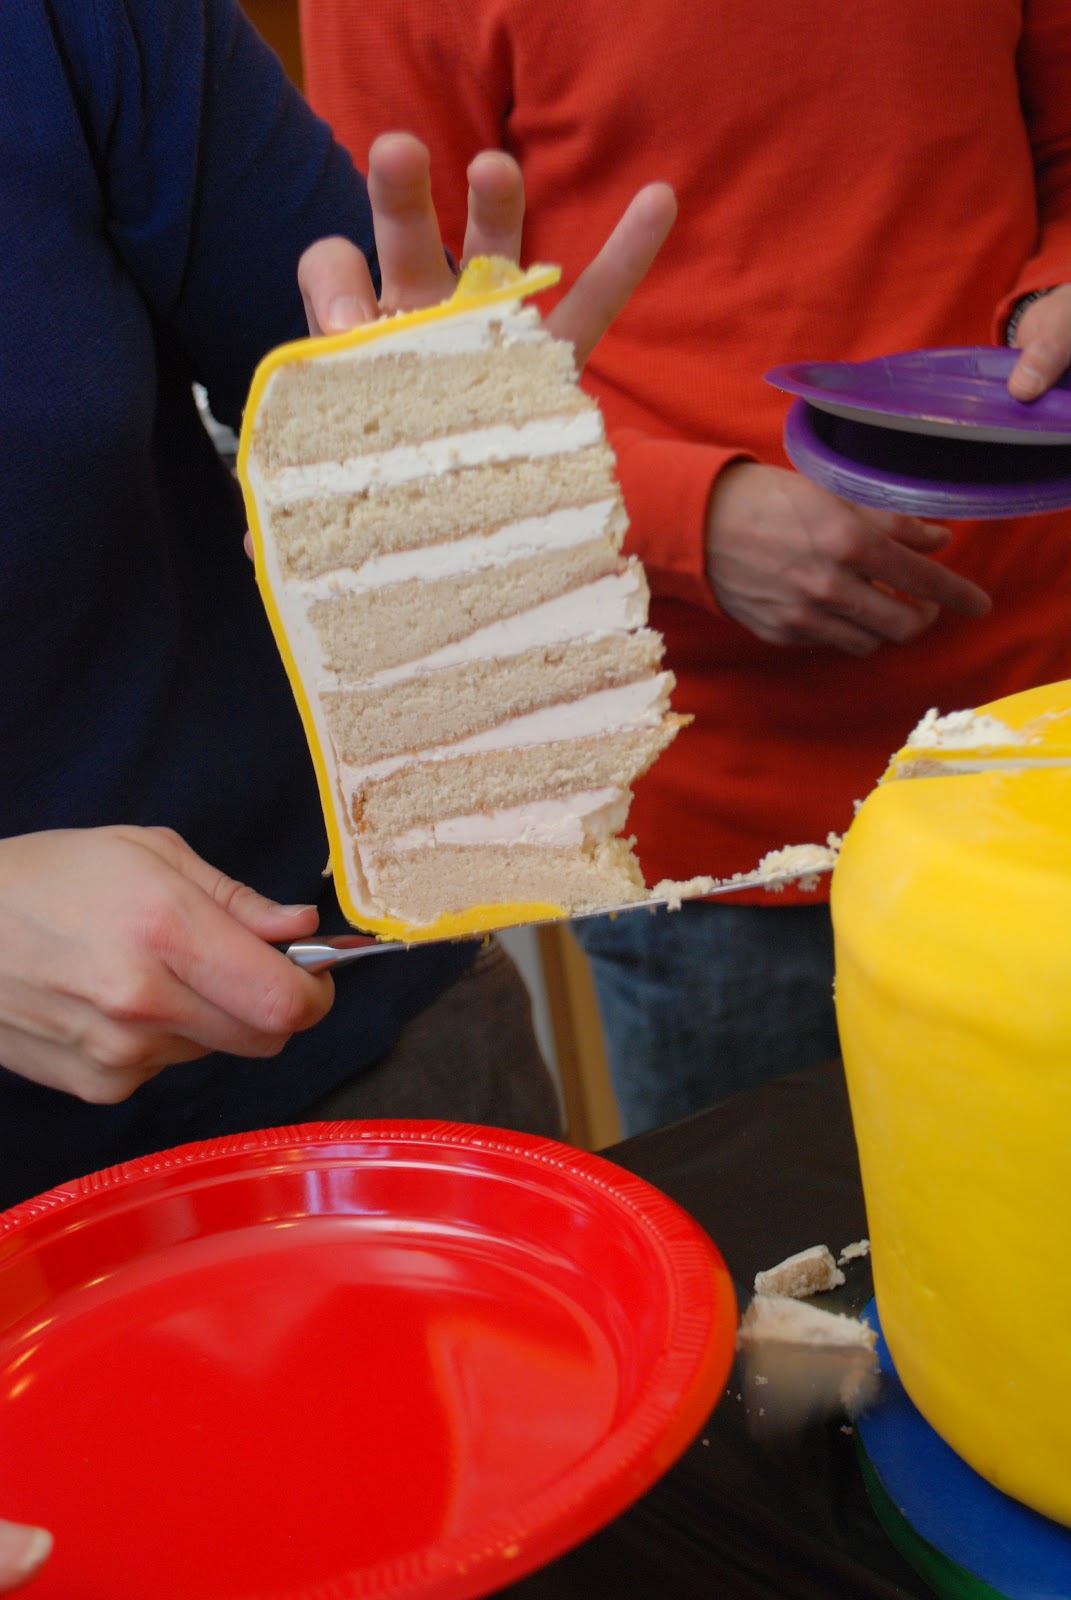
I was so sad to cut him open. (Notice I'm sporting a Lego necklace too!)

We actually cut each slice into fourths to serve to the kids.

Couldn't leave out Split Pea. He navigated the people fantastically, and true to form, ate his way through the day.

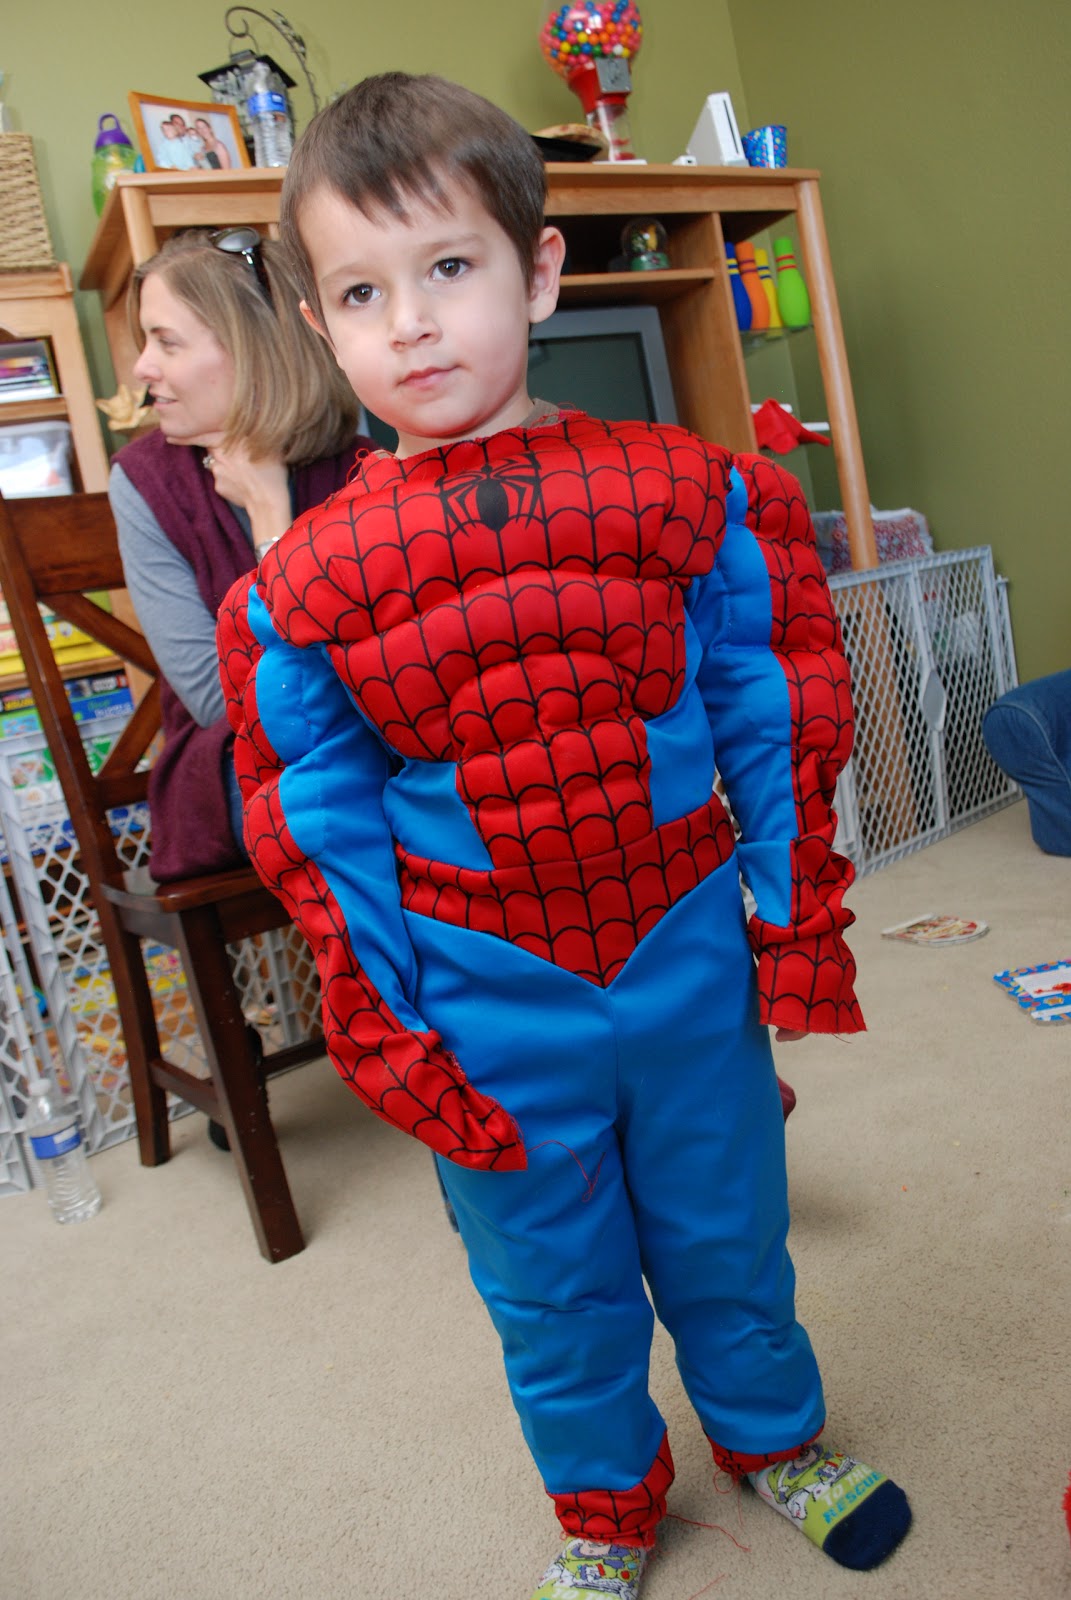
Even the toddlers played dress-up!

The box of costumes we have was a HUGE hit (I buy costumes on clearance the day after Halloween and the kids use them year-round for dress-up.)
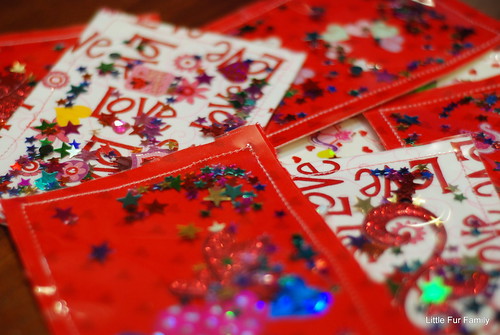
All of the kiddos went home with a few treats.
Lego necklaces that I made literally the night before the party - they went together really quickly. (some of the adults got these too - I had a bunch of different colors).

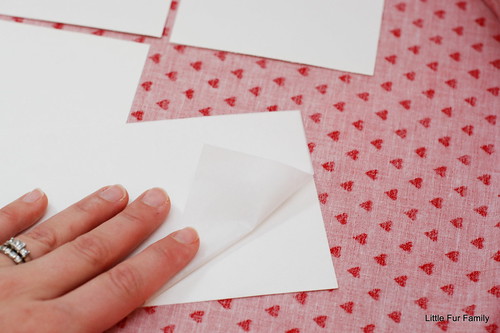
Minifigure and Brick crayons. I did NOT use the same molds for crayons and food. I also followed a few tutorials I'd pinned (here and here), but ended up using silicone cupcake liners to hold the broken up crayons and melt them in the oven (225 degrees for about 20-30 minutes) and poured the melted crayon into the molds. Let me know if you want more details, but this worked really well for us.


Once the guests left, Split Pea and Small Fry napped while the Monkey played with his Legos. I cleaned the house and hubs left for an important poker tournament. As evening approached, we started opening presents. (This was bigger than their Christmas and Hanukkah).
Small Fry's favorite gift, from his girlfriend at school was a Melissa and Doug Dinosaur Stamp Set. He could not WAIT to play with it.

One thing I noticed that is new this year is that a) the Monkey can read his cards and b) his friends all wrote him a message. What an amazing milestone.

From one of the Monkey's friends. I must find where this was purchased, because I LOVE it (and Small Fry wants one too).

The big gift from mom and dad. A new Leap Pad for Small Fry.

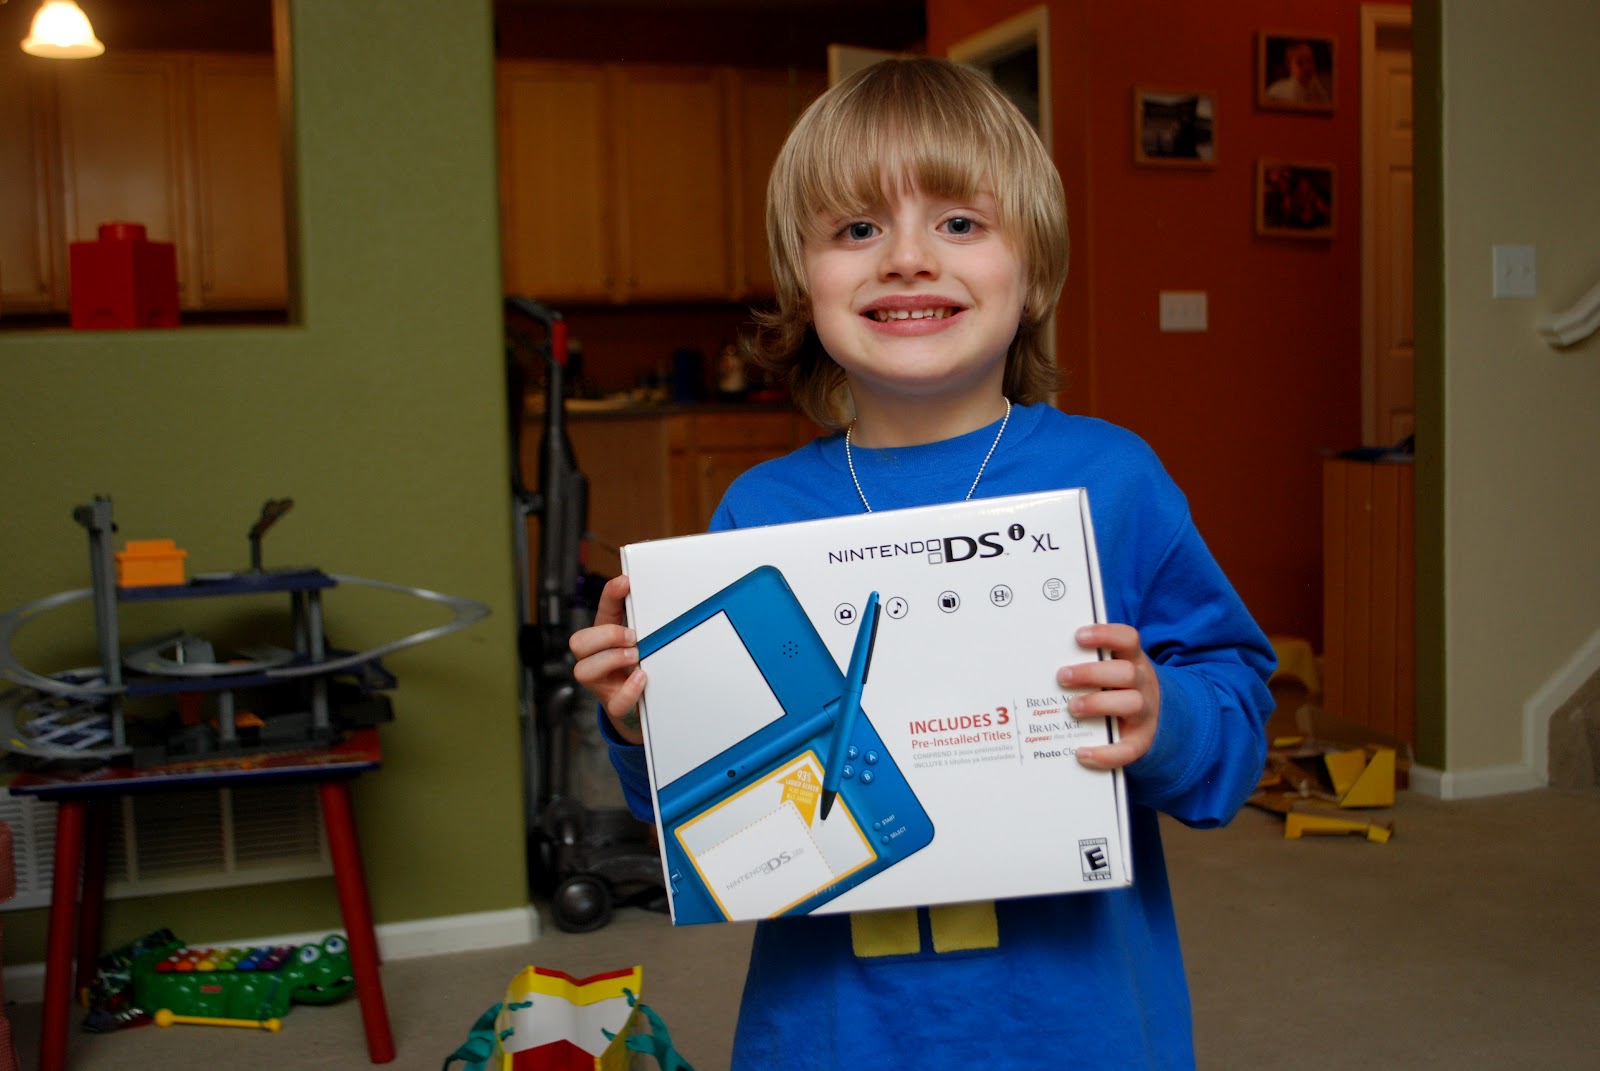
And a DS XL for the Monkey. I actually used Christmas and birthday money and gift cards to purchase these big-ticket items for the boys. They received so many amazingly wonderful presents from their friends. I actually cried when they were opening everything because I just felt that they are so lucky.
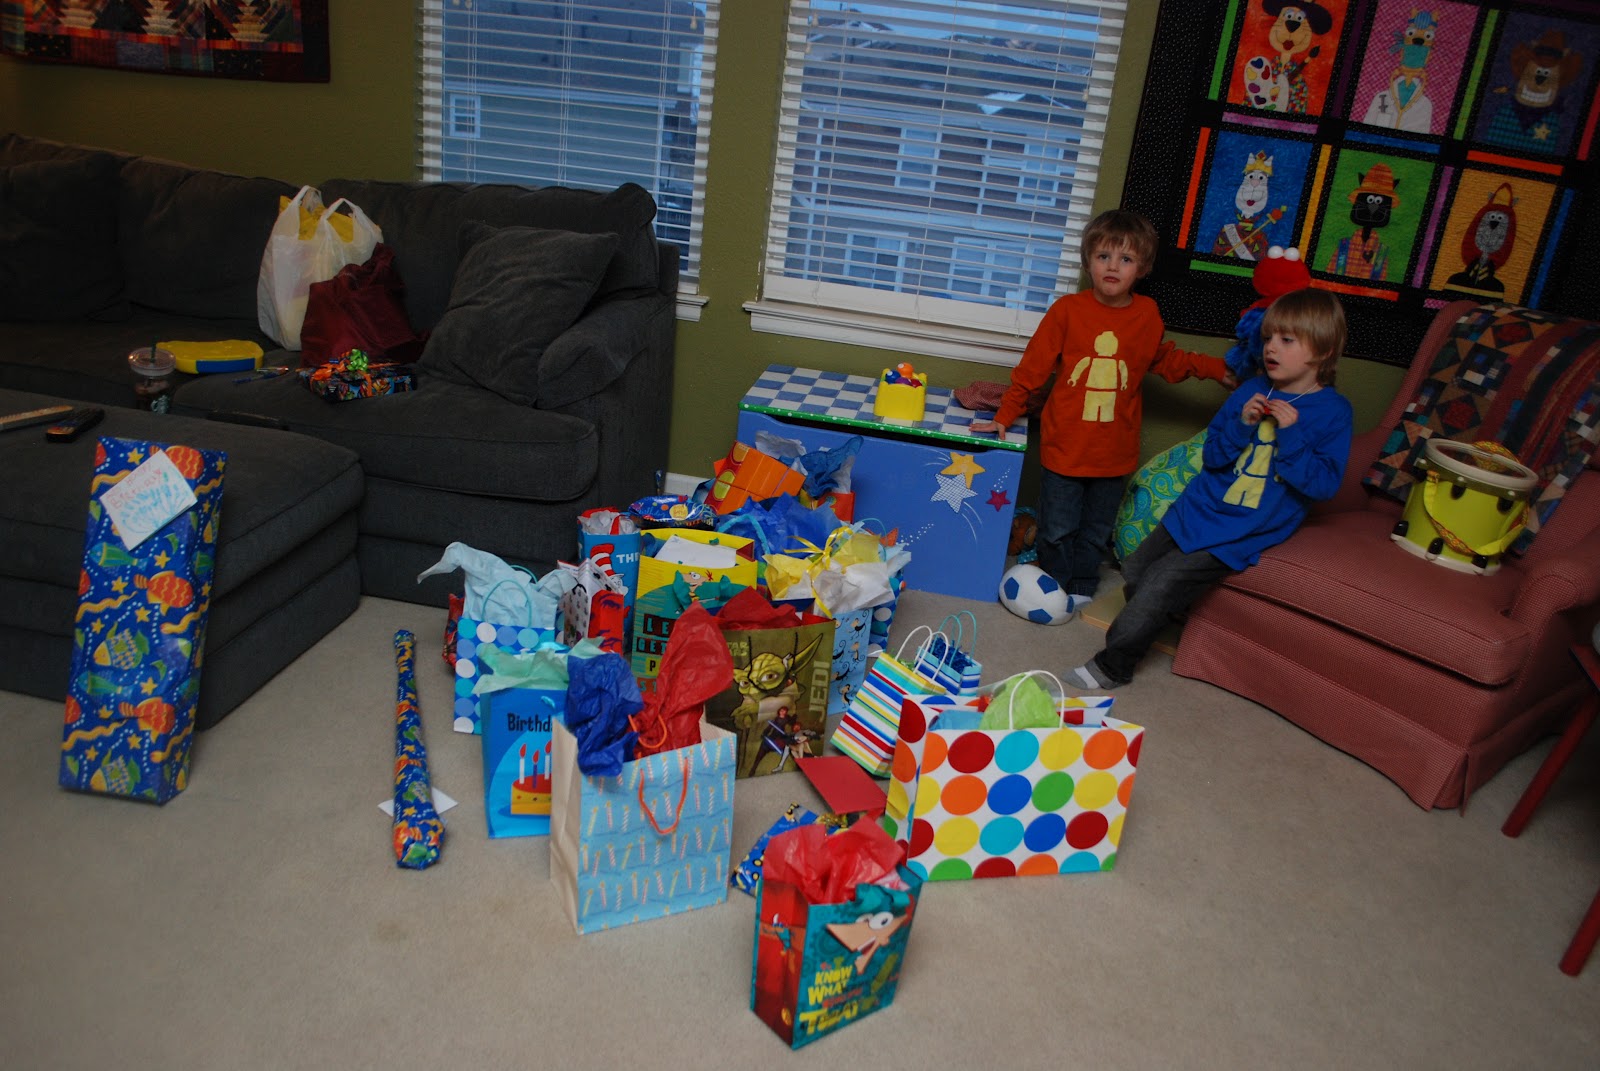
Their amazing haul of gifts. Excuse Small Fry for the sour face, he was mad I made him stop checking out the toys to snap a photo.

All in all, I hope the boys don't think I'll be doing this every year, but I am so glad we did host this event. It was fun, I think all the kids had a great time, and so did the adults. Surprisingly, the house wasn't any more disheveled than it would be after an afternoon of the boys playing.
Next year when it comes to birthday-planning time, I am definitely going to have to avoid Pinterest. ;)


